Ready… focus… shoot! Here at Primary Design, we work closely with our clients to best capture their property for use in their marketing such as advertisements, websites, brochures and other collateral. Take a peek into our photoshoot process for helpful tips on what to do and what not to do when preparing your property for a photo shoot.
The first step is to determine exactly which photographs are needed based on what is available to shoot and what is needed for upcoming marketing materials. First and foremost, we recommend having the models that you would like photographed professionally staged prior to the photo shoot.
A professional stager or interior designer will stage the model for a weekend or you can purchase the furniture and accessories if you plan on keeping the model for tours post photo shoot.
Here’s an example of a typical shot list
Staged model (such as kitchen, living room, dining room, bedrooms, baths, patio, closets, etc.)
Amenity areas (such as fitness centers, lounges, leasing office, pool, WiFi lounge, etc.)
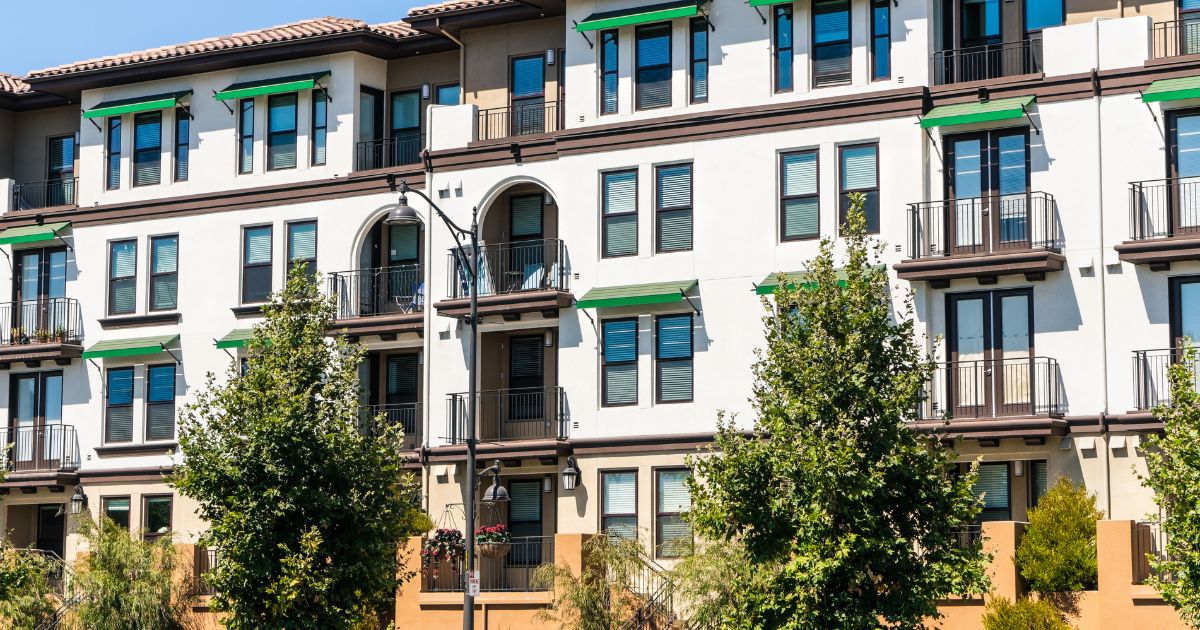
Exteriors (such as signage, building(s), etc.)
Views
The season for shooting beautiful exteriors is much longer on the temperate West coast, where the growing season sustains lush landscapes longer. As you move across the country to the East Coast, the window to shoot exteriors narrows to between about May through October.
Whatever coast you’re on, do not forget to check the forecast and plan accordingly! Exterior photo shoots depend on a nice day, so it makes sense for your photographer to plan a backup shoot day.
Here are some definite to do’s before the day of your property’s photo shoot
Post advance notice to residents/homeowners/guests indicating when certain areas will be closed.
Notify vendors that delivery trucks should stay clear of areas.
Wash windows – you’ll want your property to look its very best.
Confirm that all interior/exterior lights are properly operating and will not be affected by a timer.
Have all landscaping/outdoor cleanup completed (e.g. sidewalks, streets and pool deck free of debris).
Display/activate amenities (e.g. televisions, BBQ grills, fireplaces, fire pits).
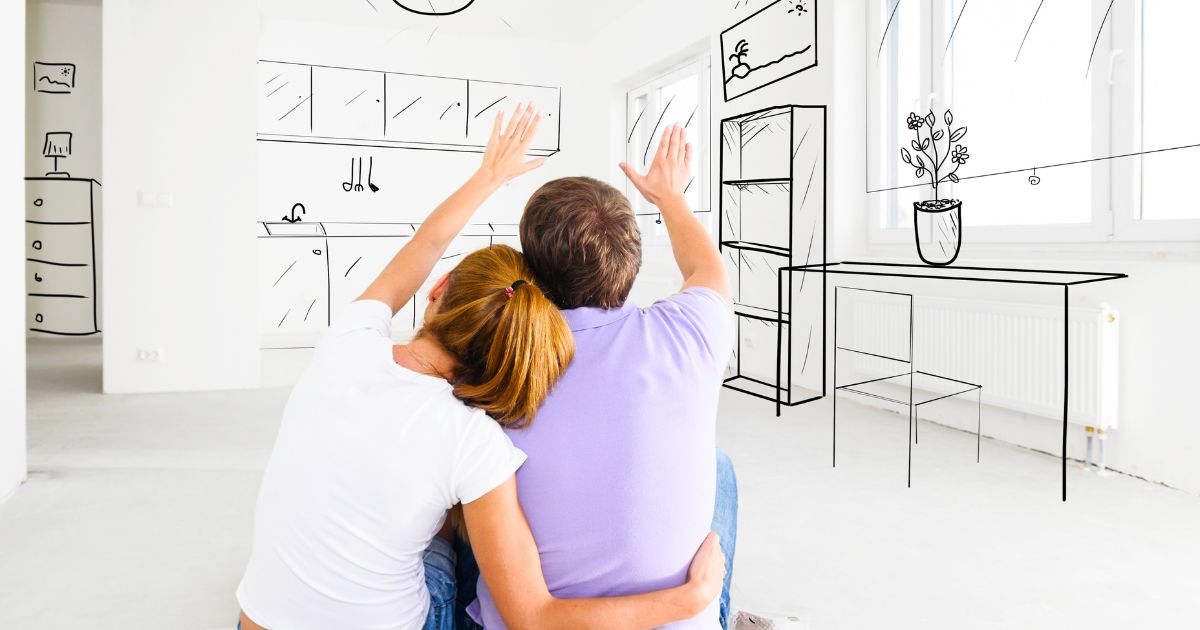
Stage interiors with furniture, art, kitchen items, and fresh flowers to create a warm, lived-in atmosphere.
Be mindful that should anyone appear in the photograph, they must sign a photo release
Plan the shoot for the appropriate time of year and best weather day
Even with our suggested guidelines, sometimes the photographer arrives on set only to be greeted with unprepared conditions. No pool furniture, incomplete/unstaged models, or uninformed staff can be very frustrating so always make sure your property is prepared or it will cost you to send the photographer back out!
Now for the don’ts
Don’t use inexperienced photographers. A pro will ensure efficiency and professionalism.
Don’t let a photographer shoot the property without reviewing the shot list and going over any specific directions. Meeting a contact at the property for a quick tour will make sure everyone is on the same page.
Don’t furnish your own models. A professional decorating job goes a long way.
Don’t try to squeeze a two-day shoot into a one-day shoot. Proper planning will yield better images.
Don’t plan too many dusk shots in one day. Dusk views take time and have to happen at a specific time, so being realistic about this can manage expectations and get a great shot!
We use this advice to make our client’s properties look the very best they can. We have in-house photographers as well as a national network of professional photographers that we rely on. If you need any help sourcing a photographer for your next property shoot, don’t hesitate to contact us!


